
Homemade Zebra Cakes
Serves 120 mins prep0 mins cook
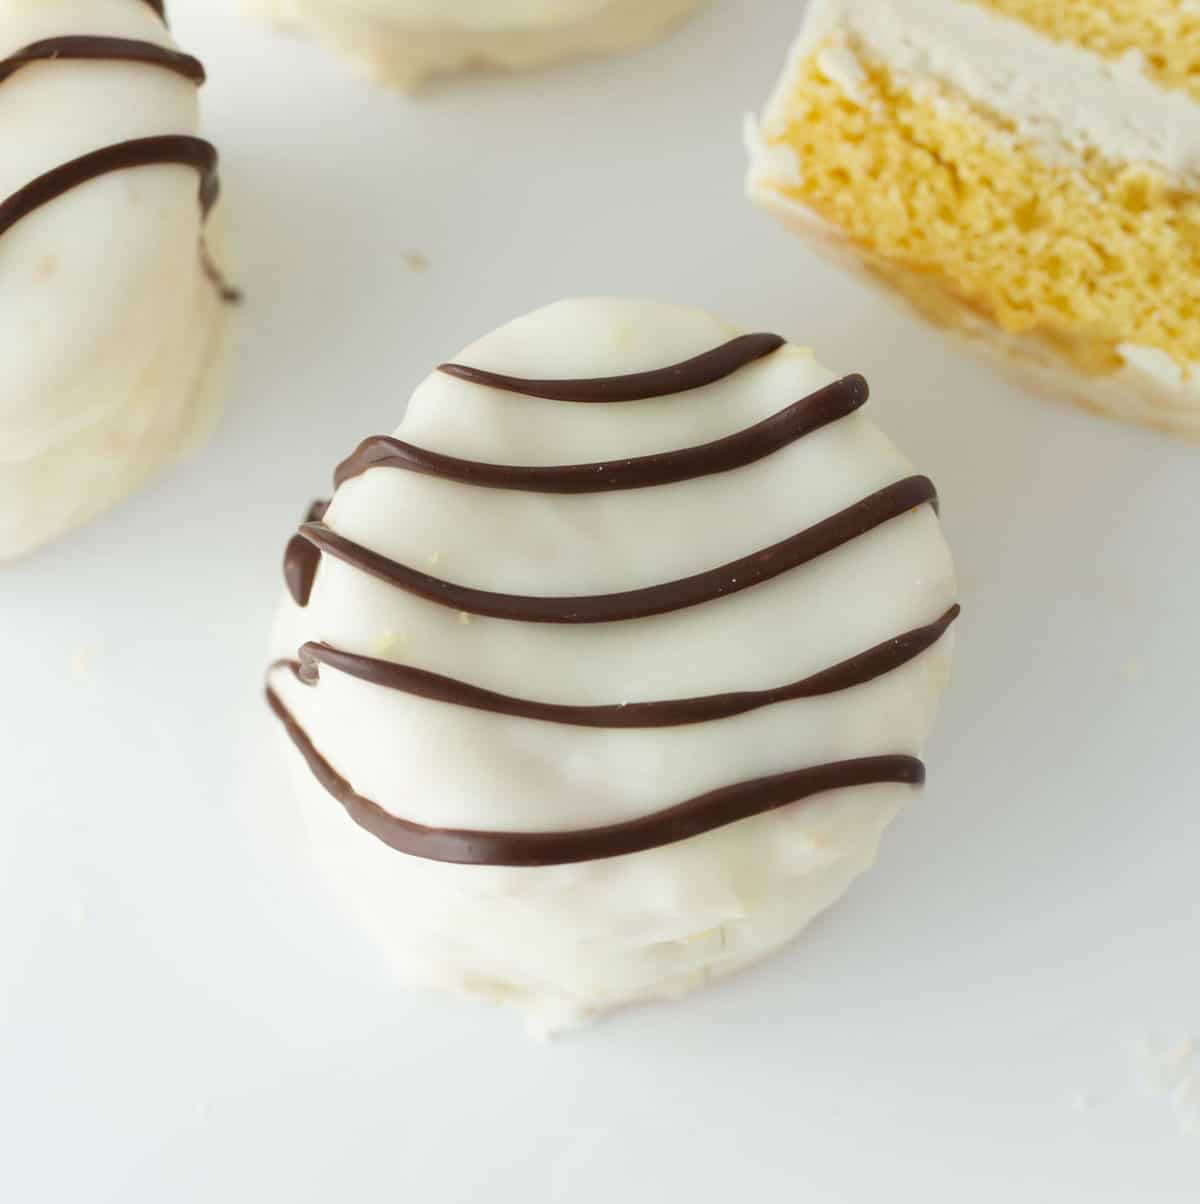
Make these GIANT Homemade Zebra Cakes using a doctored cake mix, a delicious fluffy buttercream, and candy coating! Remaking Little Debbies are a fun weekend baking project & taste so much better than store-bought!
0 servings
What you need
Instructions
2 Be sure to read through the blog post above for important tips & tricks (and step-by-step photos!).
Making The Cake
0 In a large mixing bowl, stir together boxed yellow cake mix [adjustable](15.25 ounces), melted unsalted butter (½ cup, i.e. 1 stick), milk (¾ cup), vanilla extract (1 teaspoon), eggs (3 large), and extra egg yolk (1 large)[/adjustable]. Pour in a greased and parchment-lined 9x13 light-colored metal baking pan, spread until smooth, then tap the pan on the counter about 20 times to remove the air bubbles.
1 Bake at 350°F for 20-22 minutes or until toothpick comes out clean. Allow cake to cool for 10 minutes, then flip over onto a wire rack or piece of parchment paper. If your cake has a bit of a dome, press the pan on top as "weight" to help it flatten while it continues cooling.
3 Once cooled, freeze cake for 30-60 minutes. This will help the cake firm up so that you can cut it into circles without it crumbling.
Make Buttercream
6 Using an electric mixer (if using a Kitchenaid stnad mixer, use the whisk attachment), cream unsalted butter [adjustable](½ cup, i.e. 1 stick)[/adjustable] and salt ([adjustable]¼ teaspoon[/adjustable]) on high speed for 2 minutes until soft and creamy.
7 Slowly mix in powdered sugar 1/2 cup at a time ([adjustable]3 cups), add vanilla extract (1 tablespoon[/adjustable]), then beat for 5-8 minutes at medium-high speed. It’s important that you beat this for at least 5 minutes for it to be fluffy & creamy. If your frosting is thick, you can add [adjustable]2-3 [/adjustable]teaspoons of milk until desired consistency.
8 Put frosting in a piping bag with large round tip or ziploc bag with the large corner cut off, then set aside for next step.
Cut Circles & Pipe Filling
10 Remove cake from the freezer then immediately cut into (12) 2.5″ circles. A sharp biscuit cutter works best but you can also use a sharp-edged cup or cookie cutter. I recommend wiping cutter every 2-3 cuts to prevent crumbs from sticking.
11 Use a serrated edge knife in a “sawing” motion to cut each circle in half horizontally.
12 On one half, pipe a double layer of frosting (i.e. do one full swirl, then another one on top). Place the other half of the cake on top and gently press down.
13 To prevent cakes from falling apart, freeze the assembled cakes for 30-60 minutes before dipping in white chocolate coating.  I know, I know...freezing takes time but is required for these or else your cake will crumble when you dip them!
Coating
16 Melt white chocolate melting wafers (24 ounces) according to the instructions on the package (or for almond bark, melt at 50% power in 30-second increments, stirring in between each one).
17 Once melted, scoop out about 1/4 cup of white chocolate in a small bowl and set aside (since the main bowl will get crumbs in it, this is the “clean” white chocolate you’ll use to cover the tops).
18 Remove cakes from freezer, gently brush off any loose crumbs, then quickly roll only the sides into the melted chocolate (don’t try to “dunk” the whole thing). Place on a greased wire rack or parchment paper to allow excess chocolate to drip off.
19 With the small bowl of reserved white chocolate, use a spoon to pour on top, then spread until the cake is fully covered.
20 Finish it off by melting chocolate chips ([adjustable]¼ cup[/adjustable]) in the microwave (again at 50% power in 30-second increments), then put in a ziploc bag with a tiny corner cut off to pipe on “zebra” stripes on top. If you want the zebra stripes to “blend” into the white chocolate, add them immediately after you add the white chocolate on top.
21 Allow cakes to harden before serving, then enjoy!
View original recipe